Table of Contents
Candidate Segments

Candidate Segments
Get a clear understanding of what Candidate Segments are, why they matter, and how to set them up to streamline recruitment for your studies.
Overview
Segments help you quickly identify the right candidates for your study by grouping reusable sets of filters. Instead of manually filtering for attributes each time, you can save segments that reflect specific personas, attributes, or study requirements.
Why Use Segments?
- Speed – Apply saved criteria instantly instead of filtering from scratch.
- Consistency – Standardize how your team defines participant groups.
- Flexibility – Adjust or add segments anytime, even after the study is published.
- Focus – Pre-filter unqualified candidates before recruitment begins.
Where to Find Candidate Segments
You can access Segments in the Plan step of any study.
- Open your study.
- Click Plan in the left-hand menu.
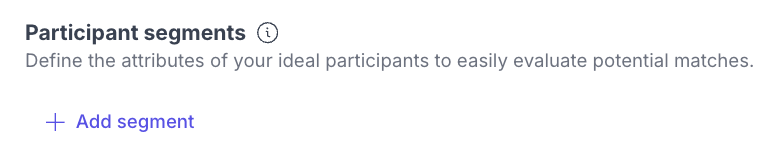
- Locate the Participant Segments section.
How to Set Up Segments (New Study)
- Create a new study (all study types supported).
- In the Plan step, find Participant Segments.
- Click + Add segment.
- In Segment #1, click + Add criteria.
- (Optional) Click the segment label to rename it.
- Search for and apply filters — the same way you filter candidates.
- Click + to add more criteria.
- Click + Add segment to create additional segments.
Changes save automatically.
How to Update Segments (Published Study)
- Open your published study.
- Click Plan in the left-hand menu.
- Scroll to Participant Segments.
- Click + Add segment and repeat the same steps as above.
No republishing required — updates save automatically.
How to Use Segments When Recruiting
Segment Matching
Once your study is published and segments are created:
- Go to Add existing candidates.
- Open the dropdown next to Browse Candidates.
- Select the segment you want to apply.
- If participants are already shortlisted:
Add Candidates → Add from Segment #[Name]. - In the candidates modal:
- Turn on Segment matches only to view matched candidates only.
- Turn it off to view the full candidate list.
- Select the candidates you'd like to add.
- Click Shortlist to study.
Troubleshooting Segments
Issue | What's Happening | How to fix |
No candidates appear when applying a segment | Filters are too narrow or conflicting | Review criteria, remove restrictive filters, or broaden the segment |
Segment criteria not saving | Auto-save may not have triggered or page was closed too quickly | Re-open Plan → Participant Segments, reapply criteria, wait for the "saved" indicator |
Segment not showing in the recruitment modal | The study may not be published yet or segments were not added properly | Publish the study (if needed) and confirm segments are created under Plan |
"Segment matches only" shows fewer participants than expected | Candidate attributes may be incomplete or outdated | Review candidate profiles, update missing fields, or adjust segment filters |
Can't rename a segment | Segment name editor may not be supported in your version | Confirm rename is supported in your workspace or rename inside the segment details |
Still need help?
Reach out to us anytime in the app or email us at [email protected]!