Table of Contents
Tree Testing

Tree Testing
Learn how to use tree testing to evaluate how easily participants can find information in your product’s structure.
What Is Tree Testing?
Tree testing is a usability research method used to evaluate how easily participants can navigate and locate information within a hierarchical structure — such as a website menu or product information architecture.
Participants are presented with a “tree” of topics or categories and are asked to complete specific findability tasks (e.g., “Where would you go to change your password?”). Their choices reveal how intuitive your structure is, and whether your naming or grouping makes sense to users.
Why It Matters
Tree testing helps you measure the clarity and effectiveness of your information architecture before investing time in design or development.
By testing the structure alone — without visual distractions — you can identify where users get lost, which labels cause confusion, and what categories don’t align with their expectations. The results help you:
- Simplify navigation structures
- Validate content hierarchy and category labels
- Improve user experience through better findability
Common Use Cases
Use Case | Description |
Navigation Testing | Test whether users can find key pages or features within your site or app structure. |
Information Architecture Validation | Confirm that your menu or content hierarchy makes sense before design implementation. |
Label Clarity Testing | See if participants understand and interpret your category names correctly. |
Feature Discovery | Identify which parts of your product users struggle to locate. |
Post-Redesign Validation | Compare old vs. new structures to see which improves findability. |
How to Set Up Tree Testing
Step 1: Create Your Study
- Navigate to Studies in the left-side menu.
- Click New study and select Tree Test.
- Configure study details, including:
- Title and research goal
- Participation limit
- Participant segments (optional)
- Time commitment
- External recruitment (optional)
- Incentives (optional)
- Screener questions (optional)
- Consent form
- Custom study attributes
- Automatic slot release settings
- Participant language preferences
- Review your plan, then click Next.
Step 2: Set Up Your Screener (Optional)
- Add multiple-choice, text, or scale questions using the screener editor.
- Apply logic under Preferences or view full rules under All Logic.
- Review and click Next.
Step 3: Configure External Recruitment (Optional)
If using User Interviews for sourcing:
- Enter participant count, request title, description, and recruitment criteria.
- Review and click Next.
Step 4: Build Your Test Flow
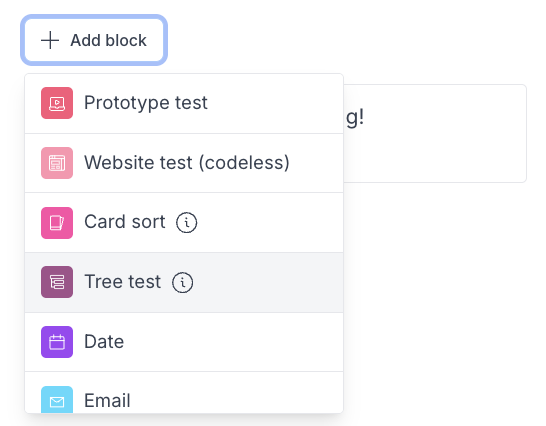
Unmoderated tests are created using blocks — each representing a step in the participant’s experience.
Block | Purpose |
Welcome | Introduce the test and explain expectations. Add a title and description. |
Permissions | Ask participants to grant permissions for screen, mic, and camera recording. |
Tree Test | Access your website or app's structure and content discoverability. |
Other Questions | Add survey-style follow-ups like multiple choice, scales, text responses, and more |
Thank You | Provide closing instructions or next steps for participants. |
Permissions Setup
When adding/editing the Permissions block:
- Choose which inputs to capture: Screen, Microphone, Camera.
- Specify Device Type (Desktop or Mobile).
- Select a Layout Style (Instructions at bottom-left or top).
- Enable “Thinking out loud” reminders to prompt engagement.
- Restrict recording to current browser tab for privacy.
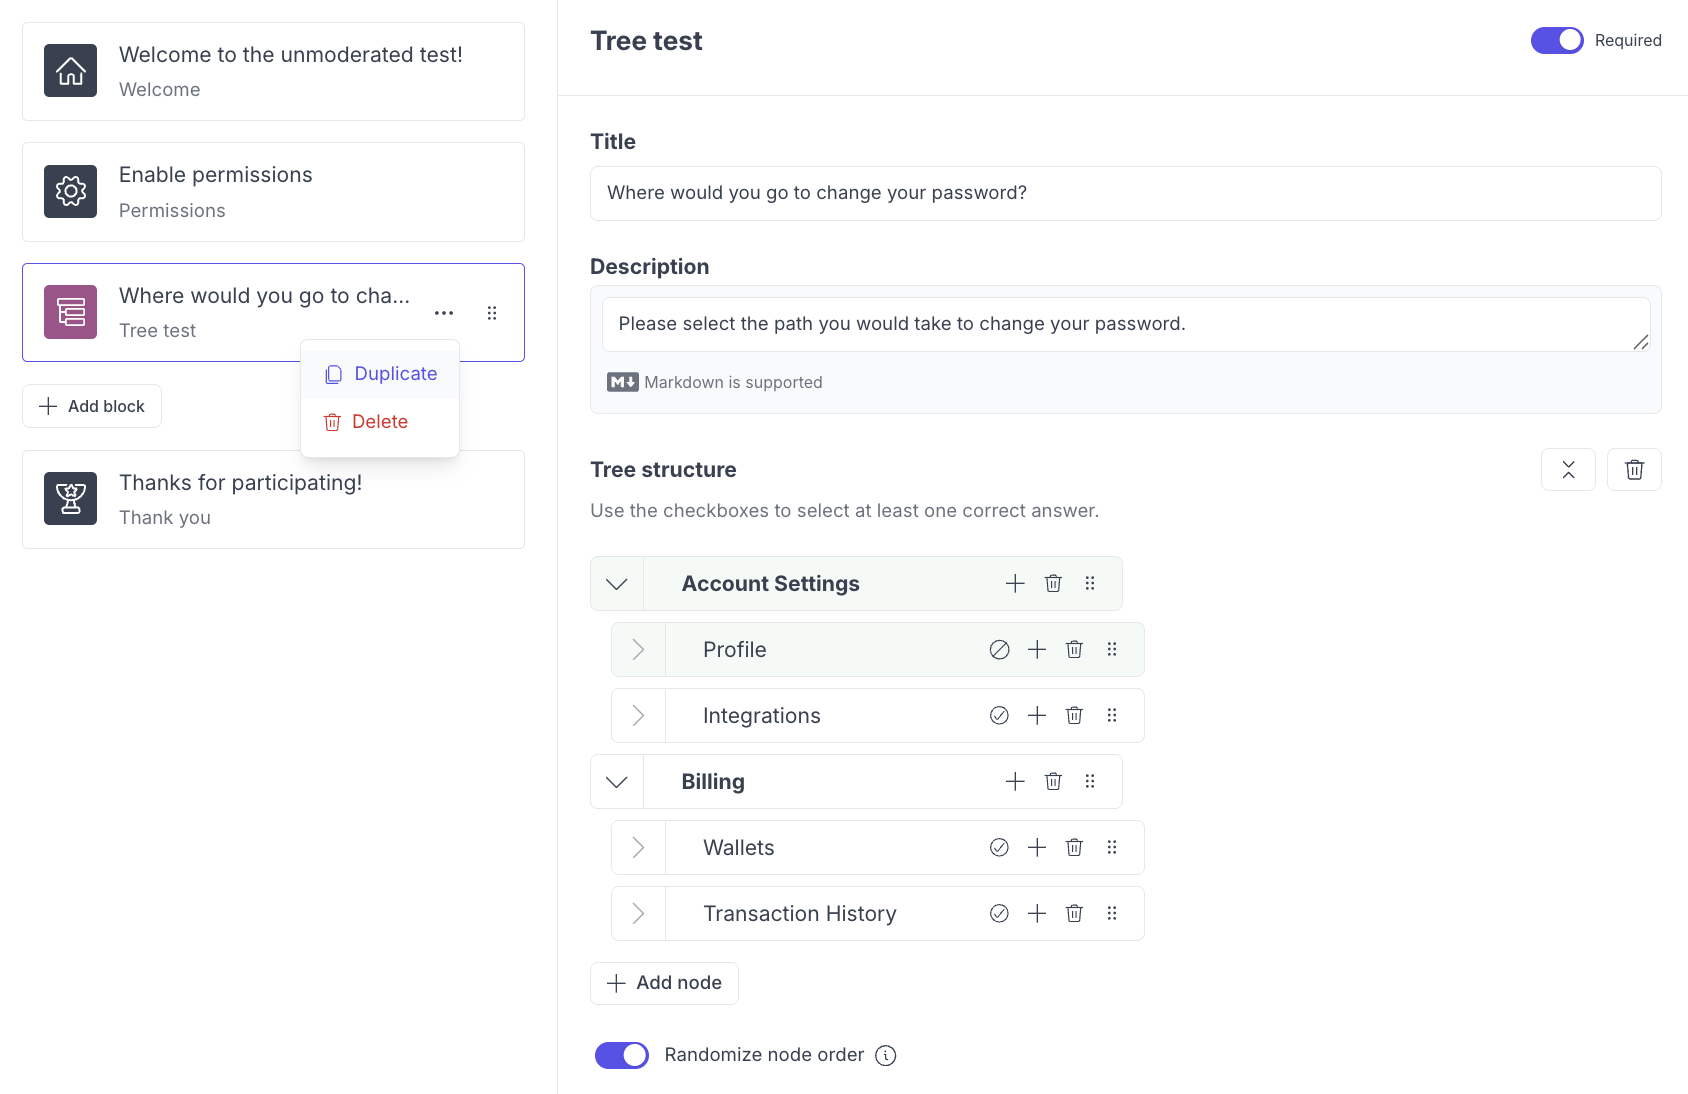
Tree Testing Block
Use this block to access your website or app's structure and content discoverability.
- Add a Tree Test Block
- In your study setup, select the Tree test block.
- Set Up the Task Details
- Title: Use a clear, action-oriented question (e.g., “Where would you go to update your profile settings?”).
- Description: Provide helpful instructions or context to guide participants.
- Add Nodes (Your Tree Structure)
- Each node represents a category or subcategory in your hierarchy.
- You can add unlimited nodes and child nodes.
- Mark at least one node as a correct answer for each task (you can have multiple correct answers).

- Rearrange nodes by dragging and dropping using the ⁝⁝ icon.
- Create child nodes by nesting them under a parent, or move them out to create new parent nodes.

- Deleting a node also deletes its child nodes — this cannot be undone.
- Optional Settings
- Randomize node order: Randomizes the order of nodes each time the study is accessed, minimizing bias.
- Add Additional Tree Tests (Optional)
- Add multiple Tree test blocks to test different findability scenarios.
- Duplicate and edit existing tasks for quick variations.
Managing Your Study After Publishing
Once your Tree Test is live, there are several areas you may want to configure or monitor before and after inviting participants. These actions fall into three categories: Setup, Execution, and Results.
Setup
These areas help you fine‑tune your study before inviting participants.
Plan
Return to the Plan step anytime to adjust details such as participant limits, incentives, study attributes, or segments.
Test
You can view your test and make any adjustments necessary.
Incentives (if applicable)
Manage incentive settings and make any adjustments necessary.
Screener (if applicable)
You can edit screener questions or update logic if your qualification criteria change.
Emails
Customize participant-facing communications—including screener invitations, study invites, task reminders, and completion emails.
Pages
Update the Landing Page and Screener Disqualification Page to ensure participants receive the correct instructions and messaging.
Automations (Unmoderated Studies Only)
Enable automatic reminders to streamline participation:
- Send invitation reminders to candidates who have not responded within 24 hours.
- Send task reminders to participants who have not completed the test after 24 hours.
Notifications
Choose which email alerts you want to receive related to this study.
Execution
Once the study is live, these sections help you manage participants and monitor activity.
Participants
Add candidates, track their progress, and take actions such as inviting, removing, or reviewing participant status. This is where most post-publish activity takes place.
Recruitment Requests (if applicable)
Manage recruit requests and make any adjustments necessary.
Stats
View email performance metrics such as delivery, opens, and clicks.
Screener Responses (if applicable)
Review individual or aggregate responses to your screener questions to determine eligibility.
Results
Use these areas for analysis and reporting.
Tags
Organize your study and global tags and assign grouping if applicable.
Synthesis
Group your highlights to identify themes.
Repository
View the artifacts related to this specific study.
Summary
The Summary view gives you both a high-level and participant-level view of your Tree Test results, making it easy to evaluate overall navigation performance and spot problem areas quickly.
What you can see
When viewing overall results, you’ll find key metrics including:
- Participants completed — The total number of participants who finished the test.
- Success rate — The percentage of participants who selected the correct destination.
- Directness — The percentage of participants who reached the correct answer in a single, direct path.
- Average duration — The average time it took participants to complete the test.
Exporting results
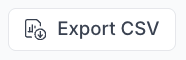
- Use the Export CSV button at the top of the Summary to download a CSV that includes the participant's name, email and their answers.
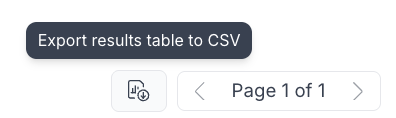
- Use the Export CSV button in the results table to download a CSV of the results.
How to Troubleshoot Tree Testing
Issue | What's Happening | How to Fix It |
Tree test doesn’t load for participants | The Tree test block wasn’t saved properly, or the test was not published. | Return to the study setup, confirm the Tree test block is added and saved, and ensure the study status is Published. |
Participants can’t see all nodes | The tree’s hierarchy or parent/child nodes weren’t configured correctly. | Review the Tree structure — ensure nodes are properly nested, and that parent nodes have their child nodes attached (look for indentation). |
Participants can’t progress through the test | No correct answers were selected for any nodes, or task instructions are unclear. | Ensure at least one node is marked as a correct answer. Add clear task instructions in the Description field. |
Node order appears different for each participant | “Randomize node order” is enabled. | Disable Randomize node order in the Tree test block if you want consistent ordering for all participants. |
Child nodes disappeared after editing | Parent node was deleted, removing all associated children. | When deleting a node, double-check for child nodes first — deletions cannot be undone. Recreate deleted nodes manually if needed. |
Participants selected the wrong path despite clear labels | The labels or instructions are too similar or confusing. | Simplify or clarify node titles. Consider adding brief contextual hints in the Description or reword similar options. |
Tree structure looks cluttered or confusing | Too many top-level nodes or inconsistent naming. | Group related items under clear categories and limit top-level nodes for easier readability. |
Test data not appearing in repository | Participants didn’t finish the test or their responses haven’t synced yet. | Check participant status under Participants → Status. Refresh or export data again after a few minutes. |
Incorrect completion rate showing | Participants skipped tasks or left early. | Verify task settings and ensure Require participants to complete the task is enabled. Add reminders in the task description to complete all steps. |
Still need help?
Reach out to us anytime in the app or email us at [email protected]!