Table of Contents
Insights

Insights
Learn what Insights are, when to use them, and how to create and share them with your team.
What are Insights?
Insights are collaborative documents where you can compile research findings and connect supporting artifacts—such as recordings, highlights, reels, survey results, and tags. They serve as the final destination for your research synthesis, helping you summarize takeaways and share them with your organization.
Use Insights to:
- Combine and interpret multiple data sources (interviews, surveys, tags, etc.)
- Create structured, shareable summaries of your research
- Collaborate with teammates on research analysis
- Embed relevant artifacts directly in the narrative for context
Use cases
- Researchers – consolidate study outcomes and highlight key learnings
- Designers & PMs – visualize insights from interviews and usability tests
- Executives – read summarized research outcomes for faster decision-making
- ReOps Leads – maintain a repository of past research for knowledge sharing
How to create an Insight
There’s more than one way to create an Insight:
From the Repository
- Click Repository in the left-hand menu.
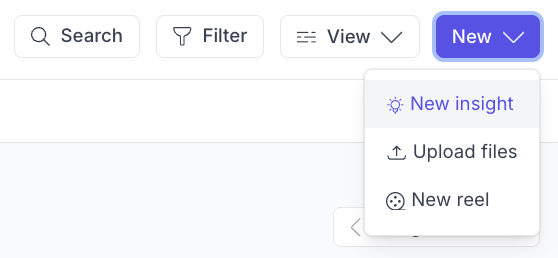
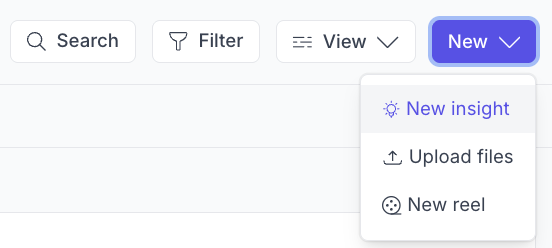
- Click New → New Insight in the top right corner.
- Give your Insight a name and start adding content (see “Add content” below).
From Studies
- Open the Study you want to work with.
- In the left-hand menu, click Repository → Insights.
- Click Create Insight (if none exist) or New → New Insight.
- Name your Insight and begin adding details and embedded artifacts.
How to add content to an Insight
You can enrich Insights with text, media, and research artifacts.
Step-by-step:
- Add a title and description
- Titles are required; descriptions are optional but recommended.
- Descriptions give context for your team.
- Add a cover photo (optional)
- Click Add cover photo → select an image from your device.
- Great for adding visual flair or identifiers for themes/projects.
- Add tags
- Tags are not automatically inherited from artifacts—apply them manually for easier search and categorization.
- Embed artifacts
- Click the Embed icon (sticky note symbol).
- Search or filter for artifacts (recordings, highlights, reels, surveys, etc.).
- Check the box next to each artifact and click Embed.
- Embedded artifacts will appear within the document, outlined in purple when selected.
- Be careful when using delete/backspace near embedded content—you can always undo via keyboard shortcuts or the Undo button.
- Add images
- Click the Upload image icon → choose an image (PNG, JPG, or JPEG).
- Ensure the image is deselected (no purple border) before typing further text.
- Add text and formatting
- Use the built-in text editor for headings, bold, italics, lists, and links.
- Click the Insert link (chain icon) to hyperlink text.
Add PDFs
- Click New → Upload files in the top right corner.
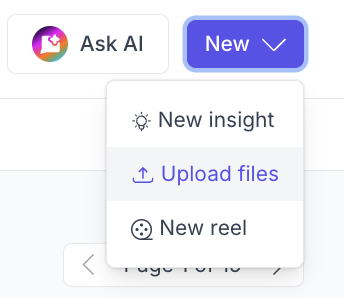
- Click on Browse files and select the desired PDF.
- After upload is complete, you can assign the PDF to a study and add relevant tags.

- Click on View to view the PDF, or click Done if all set.
- When View, is selected, you have the ability to rename the insight, add a description, and edit tags. When Done is selected, you are taken back to the global Repository.
How to share an Insight
From within the Insight:
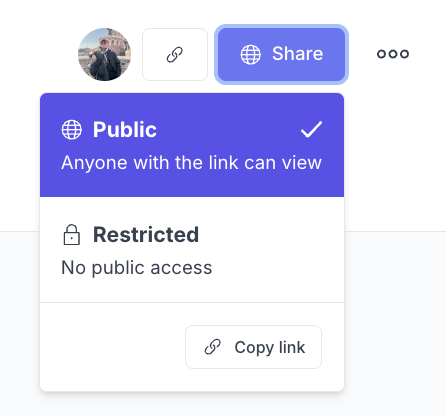
- Click the Copy link (chain icon) or the Share button.
- Choose Public or Private visibility.
- Click Copy link and share with teammates.
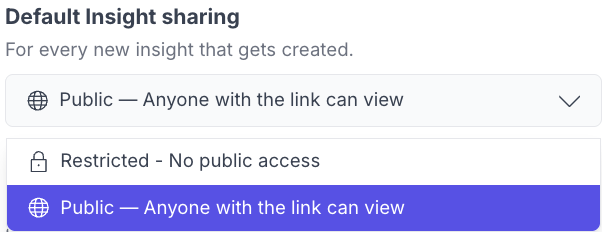
Changing default account-level share settings (Admins only)
- Go to Settings → Permissions → Default Insight sharing
- Under Default Insight sharing, choose Anyone with the link can view.
- This sets visibility defaults for all new Insights created by your team.
How to delete an Insight
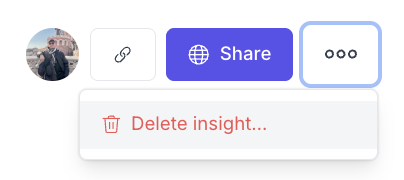
- Find the Insight in list or card view (or open it directly).
- Click the ⋯ menu next to the Insight.
- Select Delete Insight.
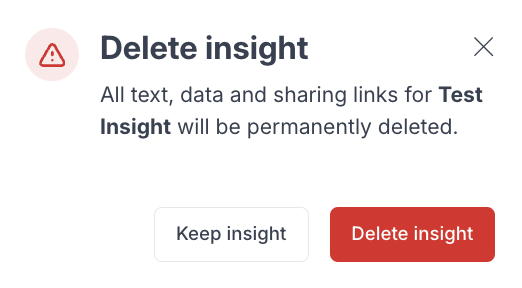
- Confirm by clicking Delete Insight again in the modal.
- Changed your mind? Click Keep Insight instead.
How to embed an insight within an insight
Embedding an insight inside another insight lets you create a central "insight board"—a space where you can consolidate related artifacts. This helps you view everything in one organized location without jumping between separate insights.
- Start by creating a new Insight that will serve as your insight board.
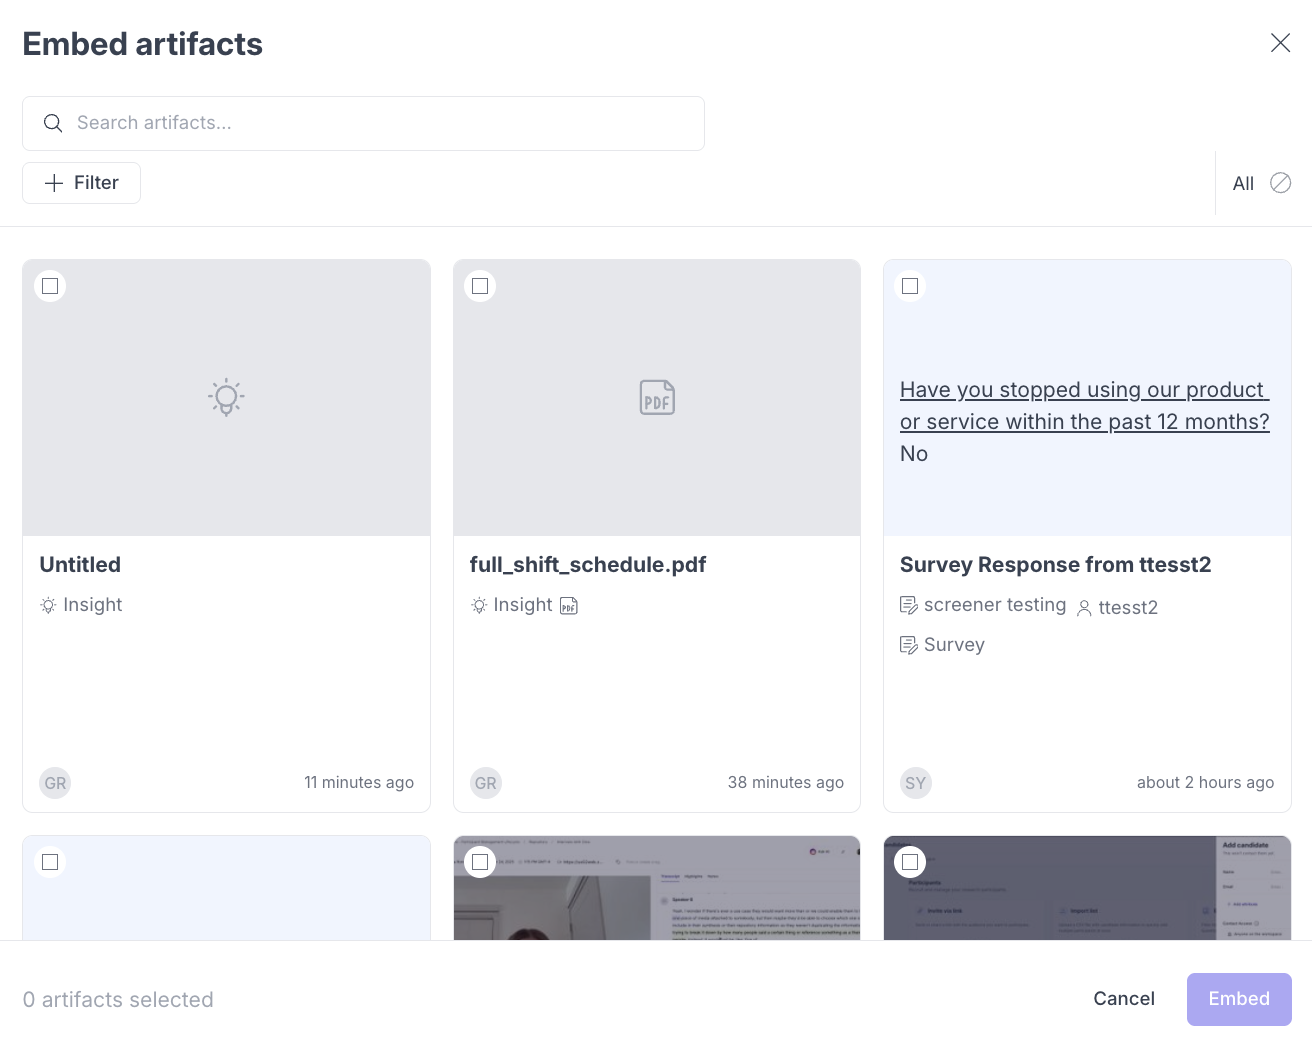
- Once created, click the Embed icon:

- After clicking Embed, you’ll see a list of artifacts and insights you can add.
- You can:
- Filter by tag, type, or other categories
- Embed PDFs, insights, and additional artifacts
- Add multiple items at once
- You can:
- After clicking Embed, you’ll see a list of artifacts and insights you can add.
- Once your items are embedded, you can continue shaping your insight:
- Update the title
- Add a description
- Apply tags and any other context your team needs
Troubleshooting Insights
Issue | What's Happening | How to Fix It |
Can’t create a new Insight | You don’t have Creator or Admin permissions, or you’re in a read-only workspace. | Check your role permissions under Settings → Permissions. Only Creators and Admins can create or delete Insights. |
“New Insight” button missing | You’re viewing a study that doesn’t have repository permissions enabled, or you’re in an archived workspace. | Return to the main Repository and confirm the workspace is active. Admins can enable repository access under Settings → Workspace. |
Embedded artifacts not appearing | Artifacts were deleted, moved, or access permissions changed. | Re-embed the missing items by clicking the Embed (sticky note) icon and searching for the artifact again. |
Can’t embed recordings or highlights | The artifact isn’t part of a published study or has restricted visibility. | Check that the artifact is published and you have view permissions for its source study. |
Accidentally deleted embedded content | You removed an embedded block with delete/backspace. | Press Ctrl/Cmd + Z or click Undo immediately to restore it. |
Formatting looks off or text disappeared | You typed while an embedded artifact or image was still selected. | Click outside the purple border to deselect the element before typing. Use Undo if you accidentally replaced content. |
Tags not showing or not searchable | Tags aren’t auto-inherited from embedded artifacts. | Add tags manually at the top of the Insight using the Find or create a tag field. |
Images not uploading | Unsupported file format or large file size. | Ensure the image is PNG, JPG, or JPEG and under 10MB. Try re-uploading after refreshing the page. |
Can’t upload PDFs | File still processing or upload interrupted. | Re-click Upload files → Browse files and select the PDF again. Wait until the upload progress completes before navigating away. |
Shared link not working | The Insight is set to Private or default visibility is restricted. | Open the Insight → click Share → Public → Copy link again. Admins can adjust default sharing under Settings → Permissions → Default Insight sharing. |
Viewers can’t see embedded content | Linked artifacts (Highlights, Reels, or Studies) are set to Private. | Make sure all embedded artifacts are also Public or shared with the same audience. |
Deleted Insight still visible in Repository | The page is cached or the workspace didn’t refresh. | Refresh your browser or clear filters. The deletion will take effect once the Repository reloads. |
Still need help?
Reach out to us anytime in the app or email us at [email protected]!