Table of Contents
Participant Management for Interviews
 Updated
by Billy Dowell
Updated
by Billy Dowell
Managing your participants within Customer Interview studies
Looking for details on the different participant management features? You are in the right place!
There is a lot of great information and helpful tips in this guide, so let's get started!

Adding Candidates to Your Study
Please follow this guide.
Email Invitations
Once you have participants shortlisted to your study, it is time to start sending invitations!
- There are three possible options for sending initial communications:
Screener Invites
Screener invites are emails sent to participants that you want to participate in a screener to gather information before offering them to schedule time with you.
To send a screener invite:
- Check the checkbox next to the name of the participant(s), or click the checkbox next to Name to send to the full list.
- Click Compose in the top right of the Participants view.
- Click Screener invite.
- Optional: Make any edits that are needed.
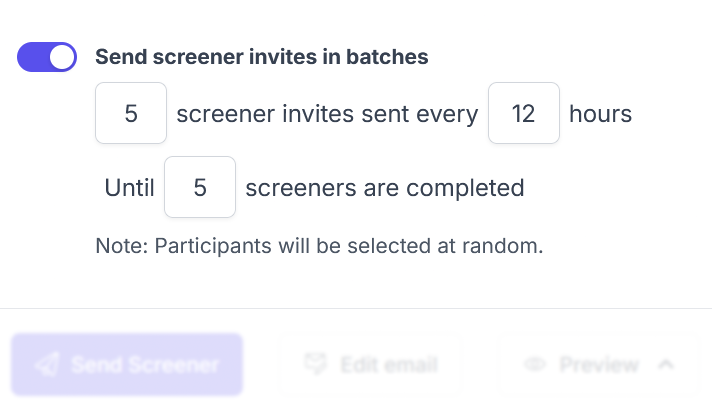
- Choose if you want to send the screener invites in batches (see below for more info on this feature)
- Click Send Screener.
Once the invite has been sent, the participant(s) will be added to a Sent Screener list.
After the participant has completed the screener, they will be added to an Applied list.
- If you have Automatic review enabled, and they match your ideal answers, they will be offered to schedule an interview, and will be added to the Scheduled list after scheduling their interview.
Screener Batches
When sending screener invites to multiple participants, you can choose to send the emails in batches.
- Batch invites send a set number of emails at a set interval, and will send them all out until the batch is complete, or until the all available slots are full.
- Example: You can choose to send 2 invites every 4 hours until the batch is complete, or until you have the desired number of completed screeners.
- These invites will not start again as slots become available if this setting is used on its own.
Participation Invites
Participation invite emails are sent to participants that you want to schedule time with for an interview.
- This can be done with or without the screener enabled for your study.
- If you do not have a screener enabled for your study, this will be your only option.
To send a participation invite:
- Check the checkbox next to the name of the participant(s), or click the checkbox next to Name to send to the full list.
- Click Compose in the top right of the Participants view.
- Click Participation invite.
- Optional: Make any edits that are needed.
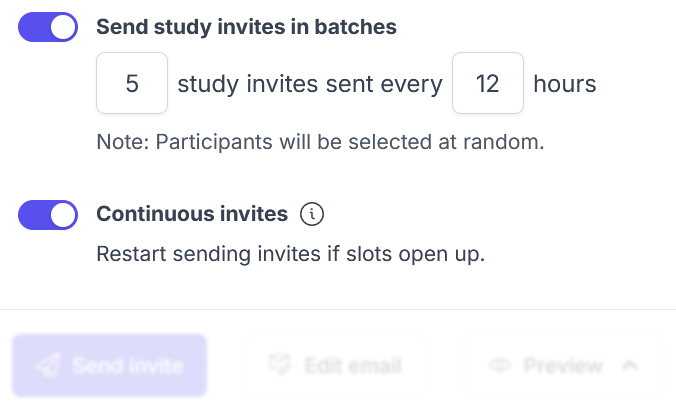
- Choose if you want to send the participation invites in batches (see below for more info on this feature)
- Click Send Invite.
- Batch invites send a set number of emails at a set interval, and will send them all out until the batch is complete, or until the all available slots are full.
- Example: You can choose to send 2 invites every 4 hours until the batch is complete, or the slots are full.
- These invites will not start again as slots become available if this setting is used on its own.
- Continuous invites (not available for Screener invites) send out emails based on the group of participants selected, and will send until all available slots are full. Once more slots become available, emails will start going out again to the remaining participants from the original selected group.
- Example: Invites will start going out again when slots become available due to participant limit updates, added calendar slots, interview cancelations, or updates to the Maximum scheduling notice.
Once the invite has been sent, the participant(s) will be added to an Invited list.
After the participant has scheduled their interview, they will be added to a Scheduled list.
Manual Scheduling
If you need to manually schedule your participant because you already know when they want to book, you can easily do this with the Mark as scheduled... option.
- This can be done with or without the screener enabled for your study.
- A participant can be manually scheduled at any point in the participant journey except for Scheduled and Completed.
- For scheduled participants, you will use the options for Manual Rescheduling.
To manually schedule your participant:
- Check the checkbox next to the name of the participant (only one participant at a time).
- Click Mark as... in the top right corner of the Participants table.
- Select Mark as scheduled... from the list.
- Confirm that you want a calendar event created. (enabled by default)
- If not, due to just wanting to change the status of the participant, uncheck the box and click Confirm. The participant will be moved to the Scheduled list, and will not be sent an email or have an event added to their calendar.
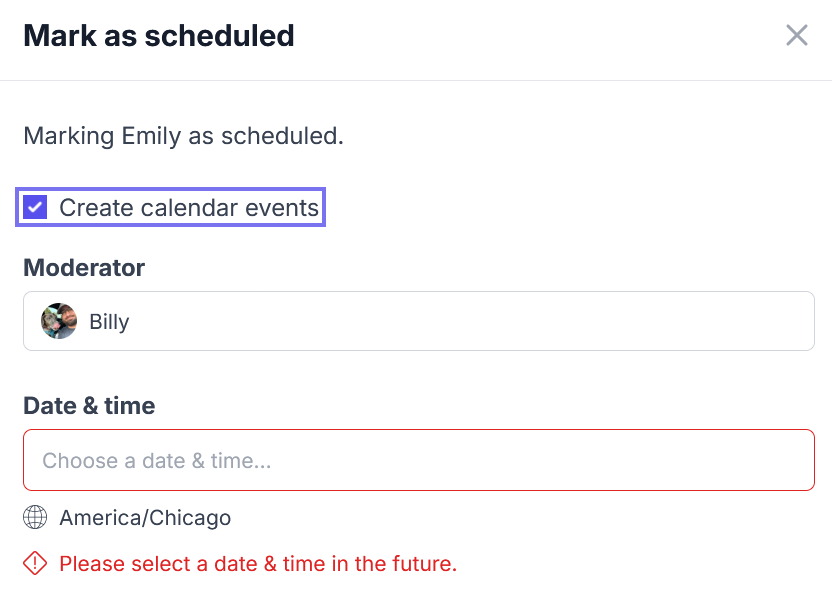
- Review the participant details to confirm you have the right person.
- Select a moderator, if someone other than yourself will be conducting the interview.
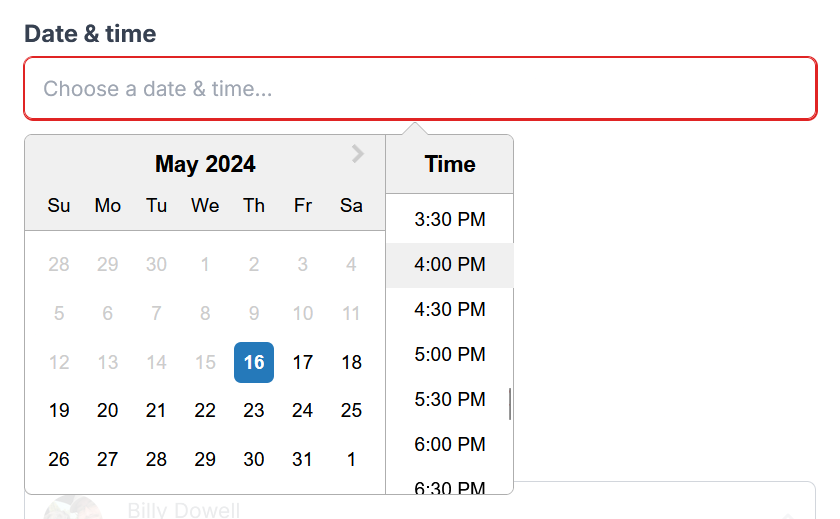
- Click into the Date & time field to select when you want the event to be scheduled for.
- Confirm that you want to send an email when the event is created. (enabled by default)
- If not, an email will not be sent from Great Question in regard to the scheduled event. The participant will only get the event invitation email from their calendar provider, and the event on their calendar.
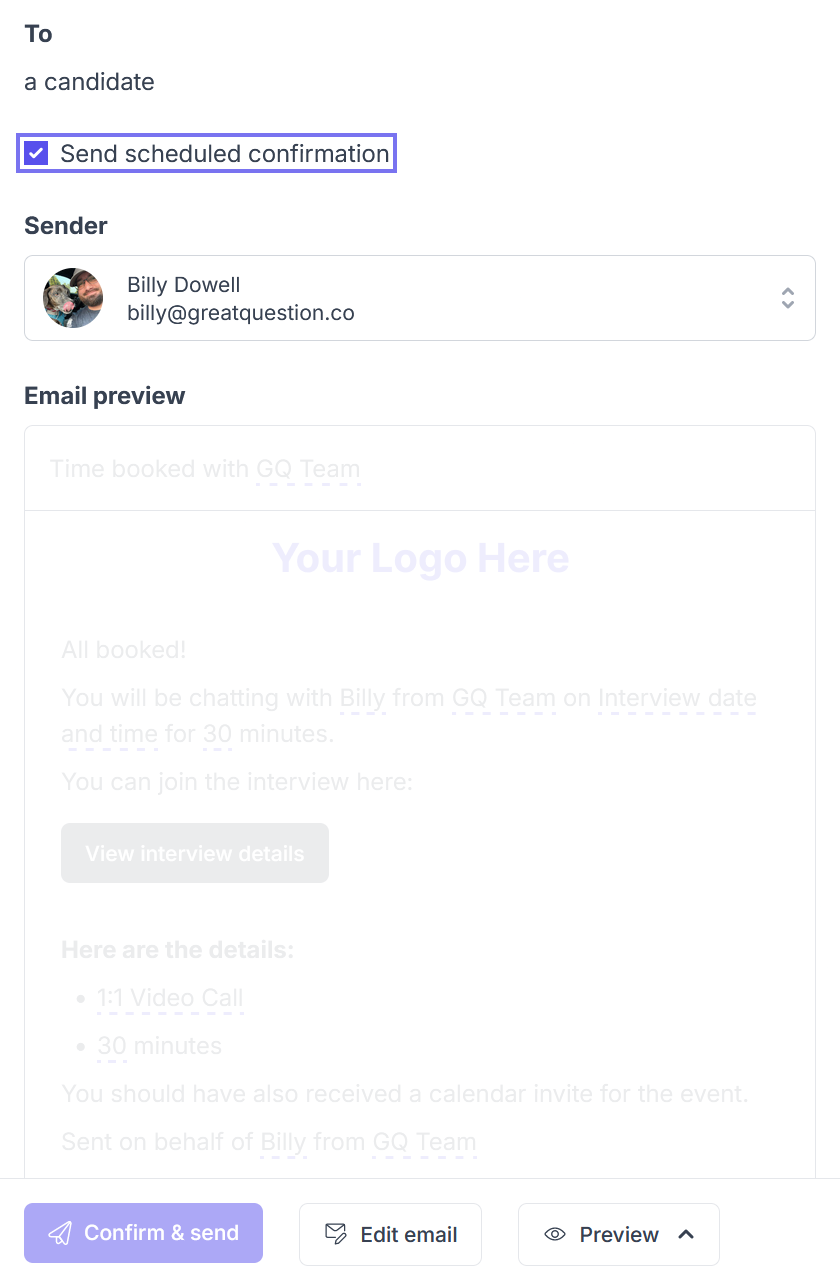
- Review the email content, and edit if needed.
- Click Confirm & send when ready.
- An event inviation email will be sent to your participant by their calendar provider (which may require approval from them before the event is added to their calendar), an event will be created for you and your participant, and an email from Great Question will be sent.
Checking In
After sending those initial communications, it is time to follow up, make adjustments (if needed), or just review settings.
Screener follow-ups
If you have participants that are in the Sent Screener list, and want to send them a "reminder", you can:
- Check the checkbox next to the name of the participant(s), or click the checkbox next to Name to send to the full list.
- Click Compose in the top right of the Participants view.
- Click Resend screener.
If you have participants that are in the Applied list, and want to send them an invitation to schedule an interview, you can:
- Check the checkbox next to the name of the participant(s), or click the checkbox next to Name to send to the full list.
- Click Participation invite in the top right of the Participants view.
Invitation follow-ups
Participants in the Invited list can be sent reminders, if it has been a while, and you want to try to reengage them.
To do so:
- Review Automation settings to see if you have Send invitation reminders to candidates who do not respond after 24 hours. enabled.
- If so, review the participant's Invited at date, shown in the Invited at column, before manually sending a reminder. An automated one may be going out soon.
- If not, proceed to step 2.
- Review the participant's Invited at date, shown in the Invited at column, so that you know how long ago they were invited.
- If it has been 24+ hours (recommended):
- Check the checkbox next to the name of the participant(s), or click the checkbox next to Name to send to the full list.
- Click ⁝ in the top right of the Participants view.
- Click Invitation reminder...
Scheduled Interviews
Invites are sent, participants are participating, and they have their interviews scheduled. What now?
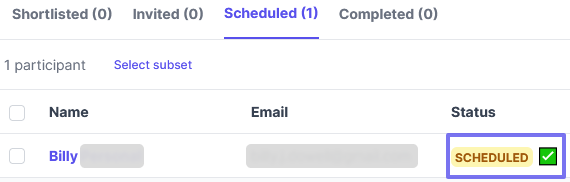
First, check next to their name to see if they have accepted their calendar invite.
- ✅ for events that have been accepted by the participant.
- ❓ for events that have been marked as "Maybe" by the participant.
- ❌ for events that haven been declined by the participant.
- Blank (no icon) means no action has been taken, which means it may be a good time to send an interview reminder email, asking that they confirm.
There are a few other things that can be done once participants are scheduled.
- Open up their interview room and make notes about their screener, or just notes about things you want to cover.
- Change the moderator, if needed.
- Send interview reminders or reschedule requests.
- Update participant stages based on their availability to attend.
- Kick your feet up and relax until it's time. You've earned it. 🥳
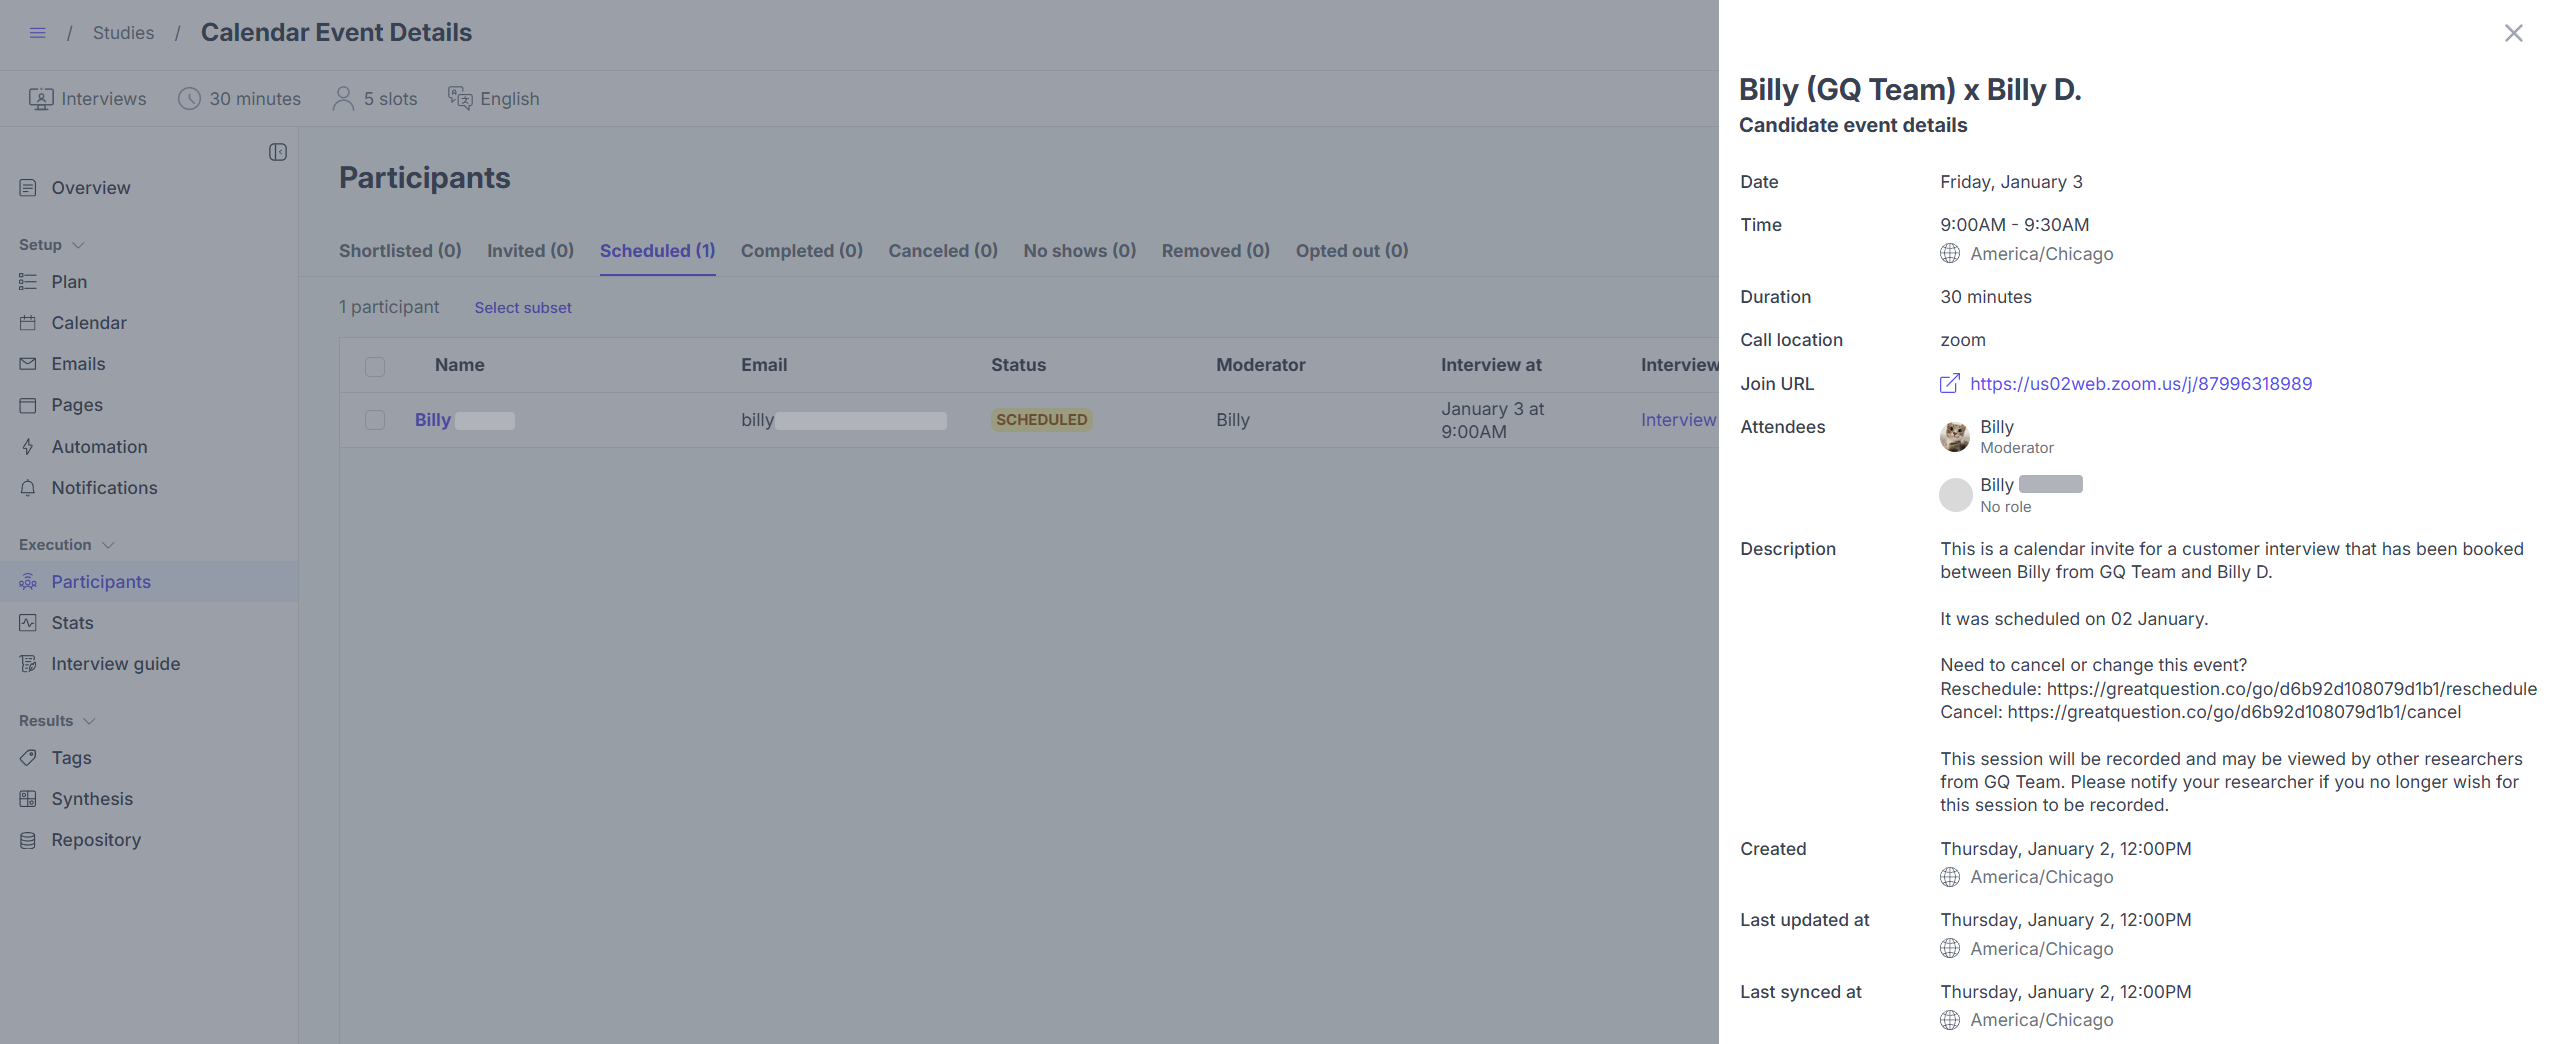
Calendar Event Details
Review all of your participant's calendar event details within Great Question without having to go to the calendar event within your calendar.
- Access your interview study.
- Locate the participant you wish to review and click on their name.
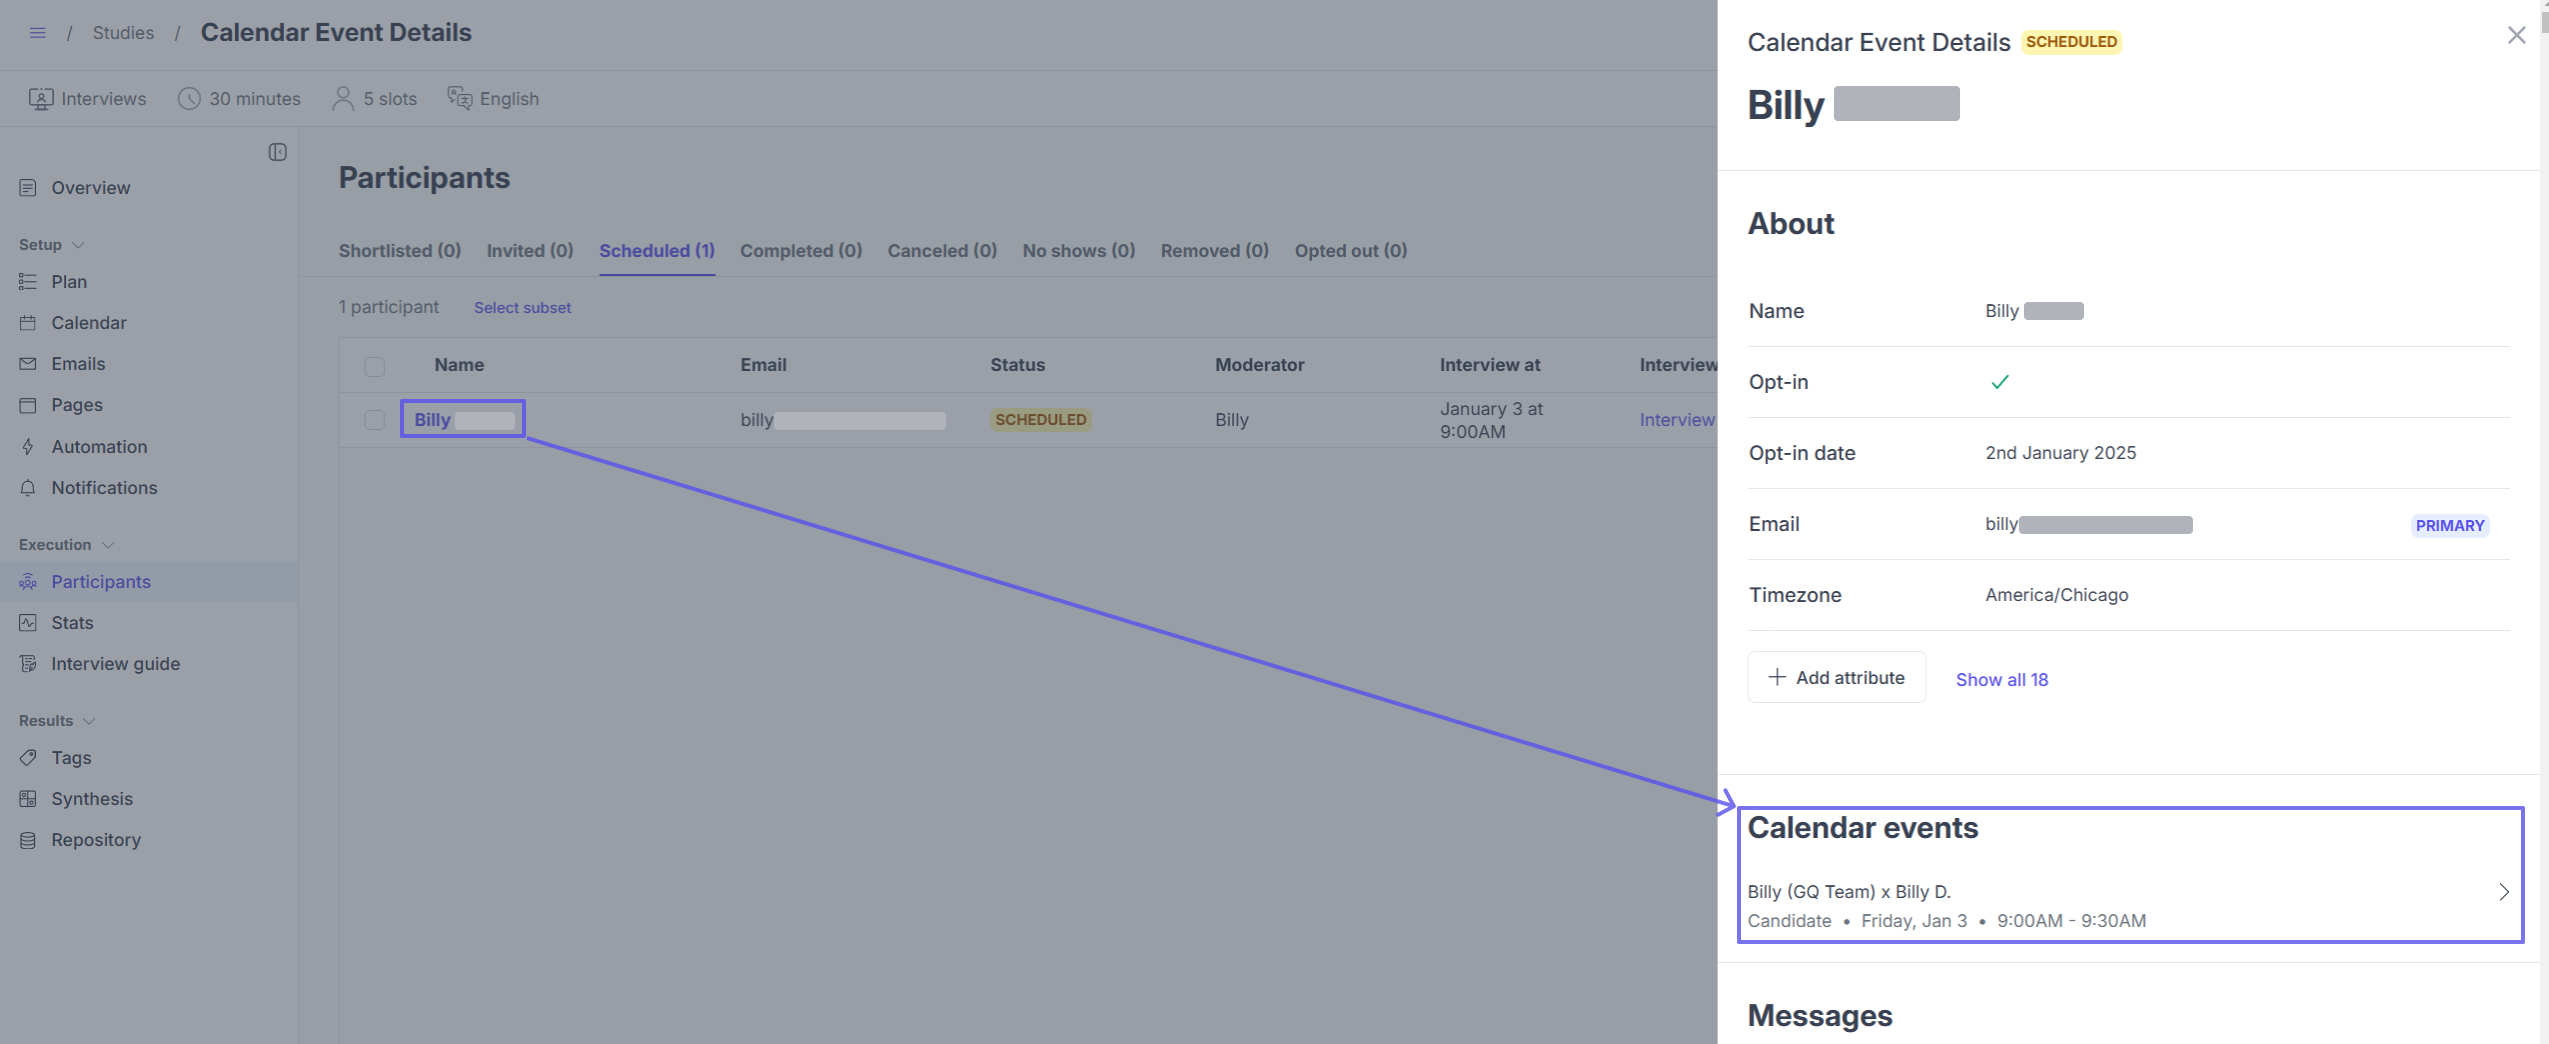
- Click on Calendar events.
- Review all the calendar event details, as they would be shown in the actual calendar event.
Interview Room and Notes
Next to each participant in the Scheduled list has a link to their interview room. This is where your videos can be uploaded and notes can be taken about the interview.
You may already have an interview template applied, but you can also add more information, jot some details down about their screener responses, or just review to make sure everything looks good and is ready to go before the interview.
Change Moderator
Not going to be available to conduct the interview because you are going on that sweet vacation you've been dreaming about for six months? No problem! You can change the moderator of the interview of your Round-Robin studies.
Running a Standard 1:1 study? Either check out Rescheduling, below, or change the study owner from the Collaborators list in the top right corner:
- Click on the collaborators list (where your avatar is).
- Search for the name or email of the user that you want to be the owner (must be an admin or creator).
- Click on Can edit, and select Set as owner.
- Click Done, and ensure the new owner has their calendar integrated and selected.
Some things to note:
- Study moderators of a published Standard 1:1 study can be changed, but only by changing the study owner.
- A session moderator can be changed, as long as they have the necessary integrations (same ones used by the study).
- Study moderators can be added or removed in published Collective studies, except for study owners. The study owner will remain as a moderator.
- No need to change moderators for specific interviews since there are multiple moderators.
- Moderators can be added or removed in published Round Robin studies, except for study owner. The study owner will remain as a moderator.
- The moderator of a specific interview can be changed three ways:
- Click on the moderator's name in the Moderator list, and then choose another user.
- Check the checkbox next to the name of the participant(s), or click the checkbox next to Name to send to the full list.
- Click ⁝ in the top right of the Participants view.
- Click Change moderator...
- Within the interview room, click ⋯ in the top right corner, Change moderator, and then choosing another user.
Interview Reminders
Now that the interview is scheduled, you want to make sure your participants do not forget. Time to remind them!
- Review your Automations settings to see if you have Send interview reminders to candidates 24 hours before their scheduled interview. enabled.
- If so, review the participant's Interview at date, shown in the Interview at column, before manually sending a reminder. An automated one may be going out soon.
- If not, proceed to step 2.
- Review the participant's Interview at date, shown in the Interview at column, so that you know how long ago they were invited.
- If it has been 24+ hours (recommended):
- Check the checkbox next to the name of the participant(s), or click the checkbox next to Name to send to the full list.
- Click ⁝ in the top right of the Participants view.
- Click Send reminder...
Reschedule Requests
Still excited about that vacation, but you are running a Standard 1:1 study? Requesting your participants to reschedule is a must. Or if you just will not be available during the time the chose, after all. (🤞 let's go, vacation)
- Check the checkbox next to the name of the participant(s), or click the checkbox next to Name to send to the full list.
- Click Reschedule in the top right of the Participants view.
- If you do not see this button, there are participants that were manually marked as scheduled. To confirm, check to see if the Interview at column is blank for the selected participant(s).
Manual Rescheduling
If you need to manually reschedule your participant because you already know when they want to book, you can easily do this with the Reschedule... option.
- A participant can be manually rescheduled if they are in the Scheduled list.
To manually reschedule your participant:
- Check the checkbox next to the name of the participant (only one participant at a time).
- Click Reschedule... in the top right corner of the Participants table.
- Select Choose new time from the list.
- Select when you want the new event to be scheduled for.
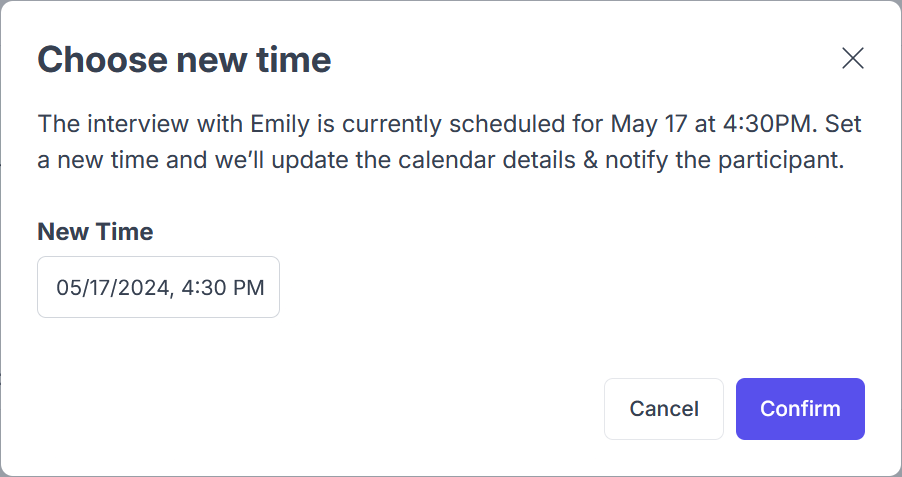
- Click Confirm when ready.
- An email will not be sent from Great Question in regard to the rescheduled event. The participant will only get the event invitation email from their calendar provider, and the event on their calendar.
Updating Participant Stages
Every list, Shortlisted, Sent Screener, Scheduled, etc..., has an option to Mark as...
So depending on what stage you are looking at, you will see different options to...
- Mark as:
- Shortlisted - places the participant back in the shortlisted list
- Invited - places the participant in the invited list
- Scheduled - places the participant in the scheduled list
- Completed - places the participant and provides a prompt to send the Thank you email/incentive
- Canceled - places the participant in the canceled list and provides a prompt to send a cancelation email
- No-showed - places the participant in the no-showed list
- No shows can affect the participants' eligibility settings.
- Removed - places the participant in a removed list
How to do it?
- Check the checkbox next to the name of the participant(s), or click the checkbox next to Name to send to the full list.
- Click ⁝ (or Mark as..., depending on the list you are looking at) in the top right of the Participants view.
- Click the option that you want to set them as.
Completed Interviews ✨
Interview is done. Time to wrap things up.
Once the interview is done, there are a couple ways to mark someone as complete.
- Manually, as noted above.
- Automatically, with Mark participations as completed and pay incentives 24 hours after their interview, or Mark participations as completed 24 hours after their interview (no incentives used in study) enabled in Automation.
After marking users as completed, you will see a status next to their name that either says Completed or Sent thanks (shown when the Thank you email is sent).
- Admins: If a Thank you email that contained an incentive was sent, you can see the status of that incentive in the Incentives page.
Helpful Tips
Need to export your participant's responses from your screener?
- Click Screener responses on the left-side menu.
- Click on Summary or Individual.
- Either page will provide the same results.
- Click Export to CSV.
When are interviews automatically canceled?
Interviews can be automatically cancled if:
- There is an issue with your call link integration (Zoom, Google Meet, MS Teams, etc...)
- If a session is booked and the call link integration that you have selected is no longer connected, the event cannot be generated and the session will be marked as canceled.
Have Questions?
Please reach out to us in the chat or at [email protected]!