Table of Contents
Interview Rooms

Interview Rooms
Learn how to access, manage, and make the most of Interview Rooms in Great Question.
Who this is for
This guide is for:
- Creators and Admins running Customer Interviews
- Observers who need access to recordings, transcripts, and notes
What you’ll learn
By the end of this article, you’ll know how to:
- Access Interview Rooms
- Upload and manage recordings
- Use transcripts, highlights, and notes
- Share interview content with teammates
Accessing Interview Rooms
Interview Rooms are generated once a participant books a meeting. You can access them by:
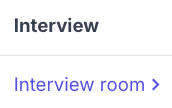
- Clicking the Interview Room link under the Interview Room column next to a participant’s name in the participant table:
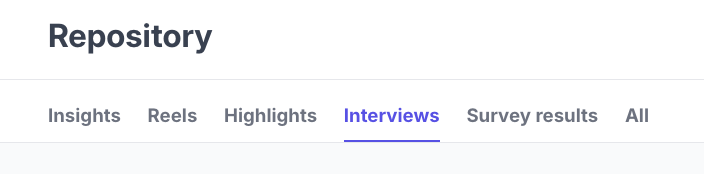
- Clicking into the Repository tab within the study and searching by participant name
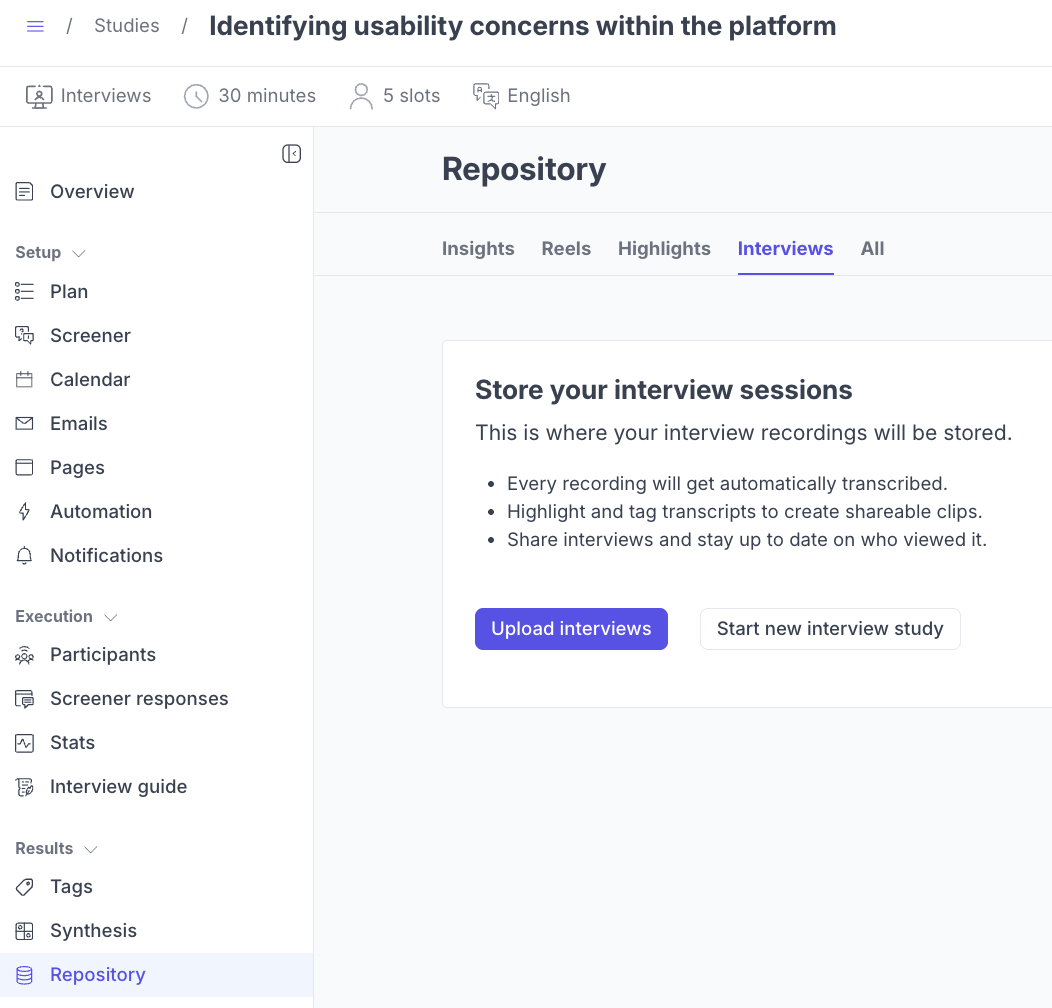
- Going to Global Repository → Interviews
The Interview Room remains the same even if participants reschedule — only the date/time updates.
You can also manually create an Interview Room by:
- Marking a participant as Scheduled in your study
- Clicking New → Upload recordings in the study’s repository
- Clicking New → Upload recordings from the Global Repository
Using Interview Rooms
At the top of every Interview Room, you’ll find:
- Title: Default is Interview with [participant name] or the uploaded file name (editable inline)
- Interview details: date, time, and location
- Participant details: status, moderator, tags, and associated study
- Actions: copy link, view count, share settings, Ask AI and ⋯ menu (download or delete)
The screen is split into:
- Video Player (left): plays uploaded or integrated session recordings
- Transcript, Highlights, and Notes (right): transcript view, highlight management, and note-taking
Both panels can be resized; adjustments persist across all interview rooms.
Video Player & Summary
- Integrations: Zoom recordings upload automatically once sessions complete (participant must be marked Completed). With a custom link, you’ll manually upload recordings. If live-streaming is enabled, the room will display “Live-streamed interview” and recording will be uploaded automatically afterward.
- Features: change playback speed, jump via transcript timestamps, resize player, and use a mini-player when scrolling.
- Summary: dedicated field under the video for summarizing the interview, separate from notes.
Bulk Importing Recordings
How to upload video files
- Navigate to the Repository in the left-hand sidebar
- Click New and then Upload files button in the top right corner
- Select Browse files
- Drag and drop video files (.mp4 or .mov) or select via browse
- Rename each video if desired
- Tie recordings to participants by searching from your panel
- Add tags for context
- Once uploaded, you can navigate away — transcripts will generate automatically
How to import Zoom files
With Great Question’s Zoom integration, you can import directly without downloading:
- Ensure your Zoom account is integrated
- How to upload video files
- Navigate to the Repository in the left-hand sidebar
- Click New and then Upload files button in the top right corner
- Select Import from Zoom
- Select the desired recording
- Tie recordings to participants by searching from your panel
- Add tags for context
- Once uploaded, you can navigate away — transcripts will generate automatically
Transcript, Highlights, and Notes
Transcript
- Auto-generated transcript separated by speaker
- Toggle Auto-scroll on/off
- Highlight text to create Highlights or add Tags
- Edit transcript text directly
- Download transcripts as
.txtvia the ⋯ menu
Highlights
- Displayed inline in the transcript and in the Highlights view
- Click highlights to jump to video sections
- Copy links, add tags, and edit as needed
Notes
- Rich text editor for team notes and images
- Supported file types: PNG, JPG, JPEG
- Embed artifacts from the Repository or apply interview templates
- Use formatting tools (headings, lists, links, bold/italic, etc.)
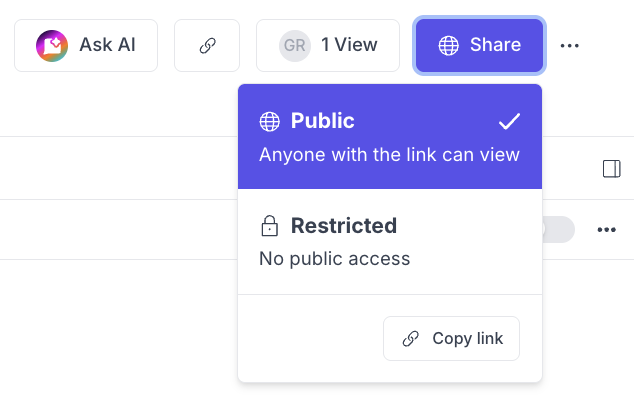
Sharing Interview Rooms
- Per interview: Click Share in the top-right → choose Public or Restricted
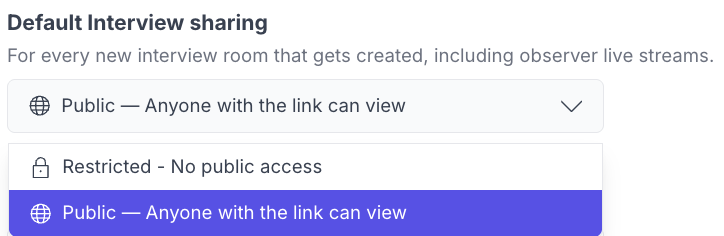
- Account-wide defaults (Admins only): Go to Settings → Permissions → Default Interview sharing and set default sharing behavior
- Use tags consistently for easy filtering later.
- Add summaries to capture the “big picture” without cluttering notes.
- Embed related artifacts (highlights, insights, reels) to connect findings
Troubleshooting Interview Rooms
Issue | What's Happening | How to Fix It |
Interview Room not appearing | The participant hasn’t been marked as Scheduled or the meeting link hasn’t been generated. | Mark the participant as Scheduled in your study, then refresh. The Interview Room link will appear automatically in the participant table. |
Recording not uploading | The session hasn’t completed or your Zoom integration isn’t connected. | Check that your Zoom account is integrated and that the participant status is Completed. If you used a custom link, upload the recording manually via Repository → New → Upload files. |
Zoom recording missing or partial | The session was stopped/restarted or recorded to a different Zoom account. | Verify that the Zoom account used matches your integrated account. For restarted sessions, only the first file uploads automatically — delete and re-upload the second manually. |
Transcript not generating | The video is still processing or upload didn’t complete. | Wait a few minutes (processing time varies by file length). If it doesn’t appear after 30 minutes, re-upload the file or contact Support. |
Transcript text inaccurate or incomplete | Automatic transcription can vary by audio clarity or speaker overlap. | Re-upload a cleaner recording version for re-processing, or manually edit the transcript in-line. |
Highlights not showing | The transcript hasn’t finished processing, or highlights are filtered out. | Refresh the page once the transcript loads. Clear filters under the Highlights tab to view all highlights. |
Notes not saving | Network interruption or unsaved edits before navigating away. | Click Save before leaving the room. For long sessions, copy text externally as a backup before reloading. |
Can’t upload image to Notes | Unsupported file type or size limit exceeded. | Only PNG, JPG, or JPEG formats under 10MB are supported. Resize or convert before re-uploading. |
Summary field missing | The video may be a manual upload without transcript metadata. | Wait until the transcript finishes processing — the Summary field appears automatically under the video once metadata syncs. |
Sharing link not working | The Interview Room visibility is Restricted. | Open the Interview Room → Share → Public → Copy link. Admins can change defaults under Settings → Permissions → Default Interview sharing. |
Interview Room loads blank | The video failed to render or browser cache is blocking playback. | Refresh, clear cache, or reopen in an incognito tab. If still blank, verify that the recording format is .mp4 or .mov. |
Can’t delete a recording | You don’t have permission to delete, or the session is still processing. | Wait until processing finishes. Only Admins and Creators can delete — check your role permissions under Settings → Roles. |
Still need help?
Reach out to us anytime in the app or email us at [email protected]!