

This is one of two AI moderation formats Great Question offers — see the AI Moderation overview for how this compares to AI Moderated Prototype Testing (beta).
Before you start: AI moderation is available to Enterprise plans only. Please contact your Customer Success Manager to learn more.
Why It Matters
Scale without scheduling. Run far more sessions than you could moderate live, at any hour, without coordinating calendars. A single, seamless flow. Participants get one continuous experience, invite, consent, and interview, not two separate systems bolted together. Results land where you’d expect. Recordings and speaker-labeled transcripts show up on the participant’s record, ready for your usual tagging and analysis. Nothing else changes. Recruitment, screening, consent, and incentives all work exactly the way they do for any other study.Common Use Cases
Set Up an AI Moderated Interview
Step 1: Create the Study and Choose “AI-Moderated”
- Click New study.
- In the Agentic section of the Create new study page, select AI moderated interviews.

- Give your study a name and continue, just as you would for any other study, enable external recruitment, screener, consent, and incentives if desired, and go through that normal setup as well.
Step 2: Design the Interview in the Studio
AI-moderated interviews are designed in the Great Question studio.- On the study’s AI Moderated Interview step, click Open studio after entering your research goal.
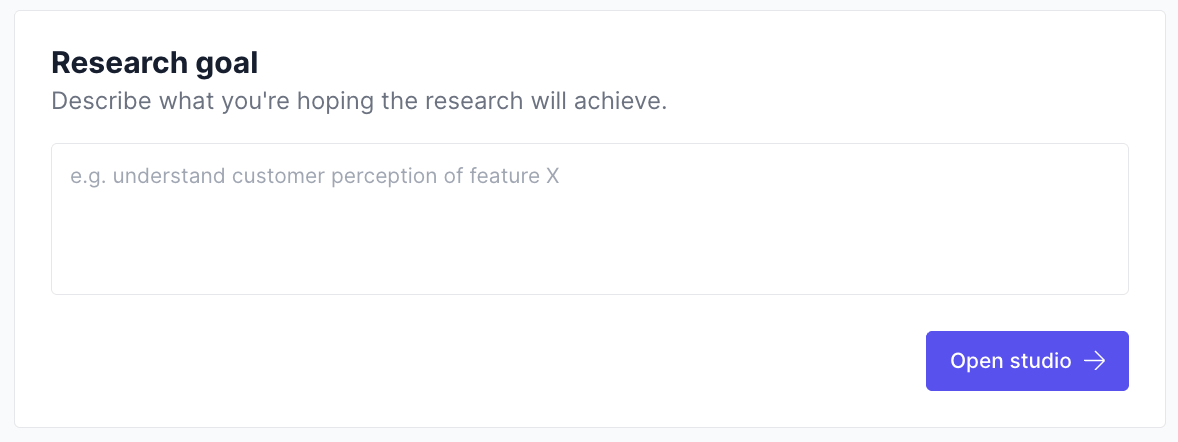
- You’ll be taken straight into the studio, already signed in, no second login.
The studio workspace is organized into four tabs: Setup (build and edit the interview), Responses (each session’s raw responses as they come in), Analysis (results aggregated question by question, with themes and highlight reels), and Report (the AI-generated study analysis report). See How the Studio Works below for what each tab shows.
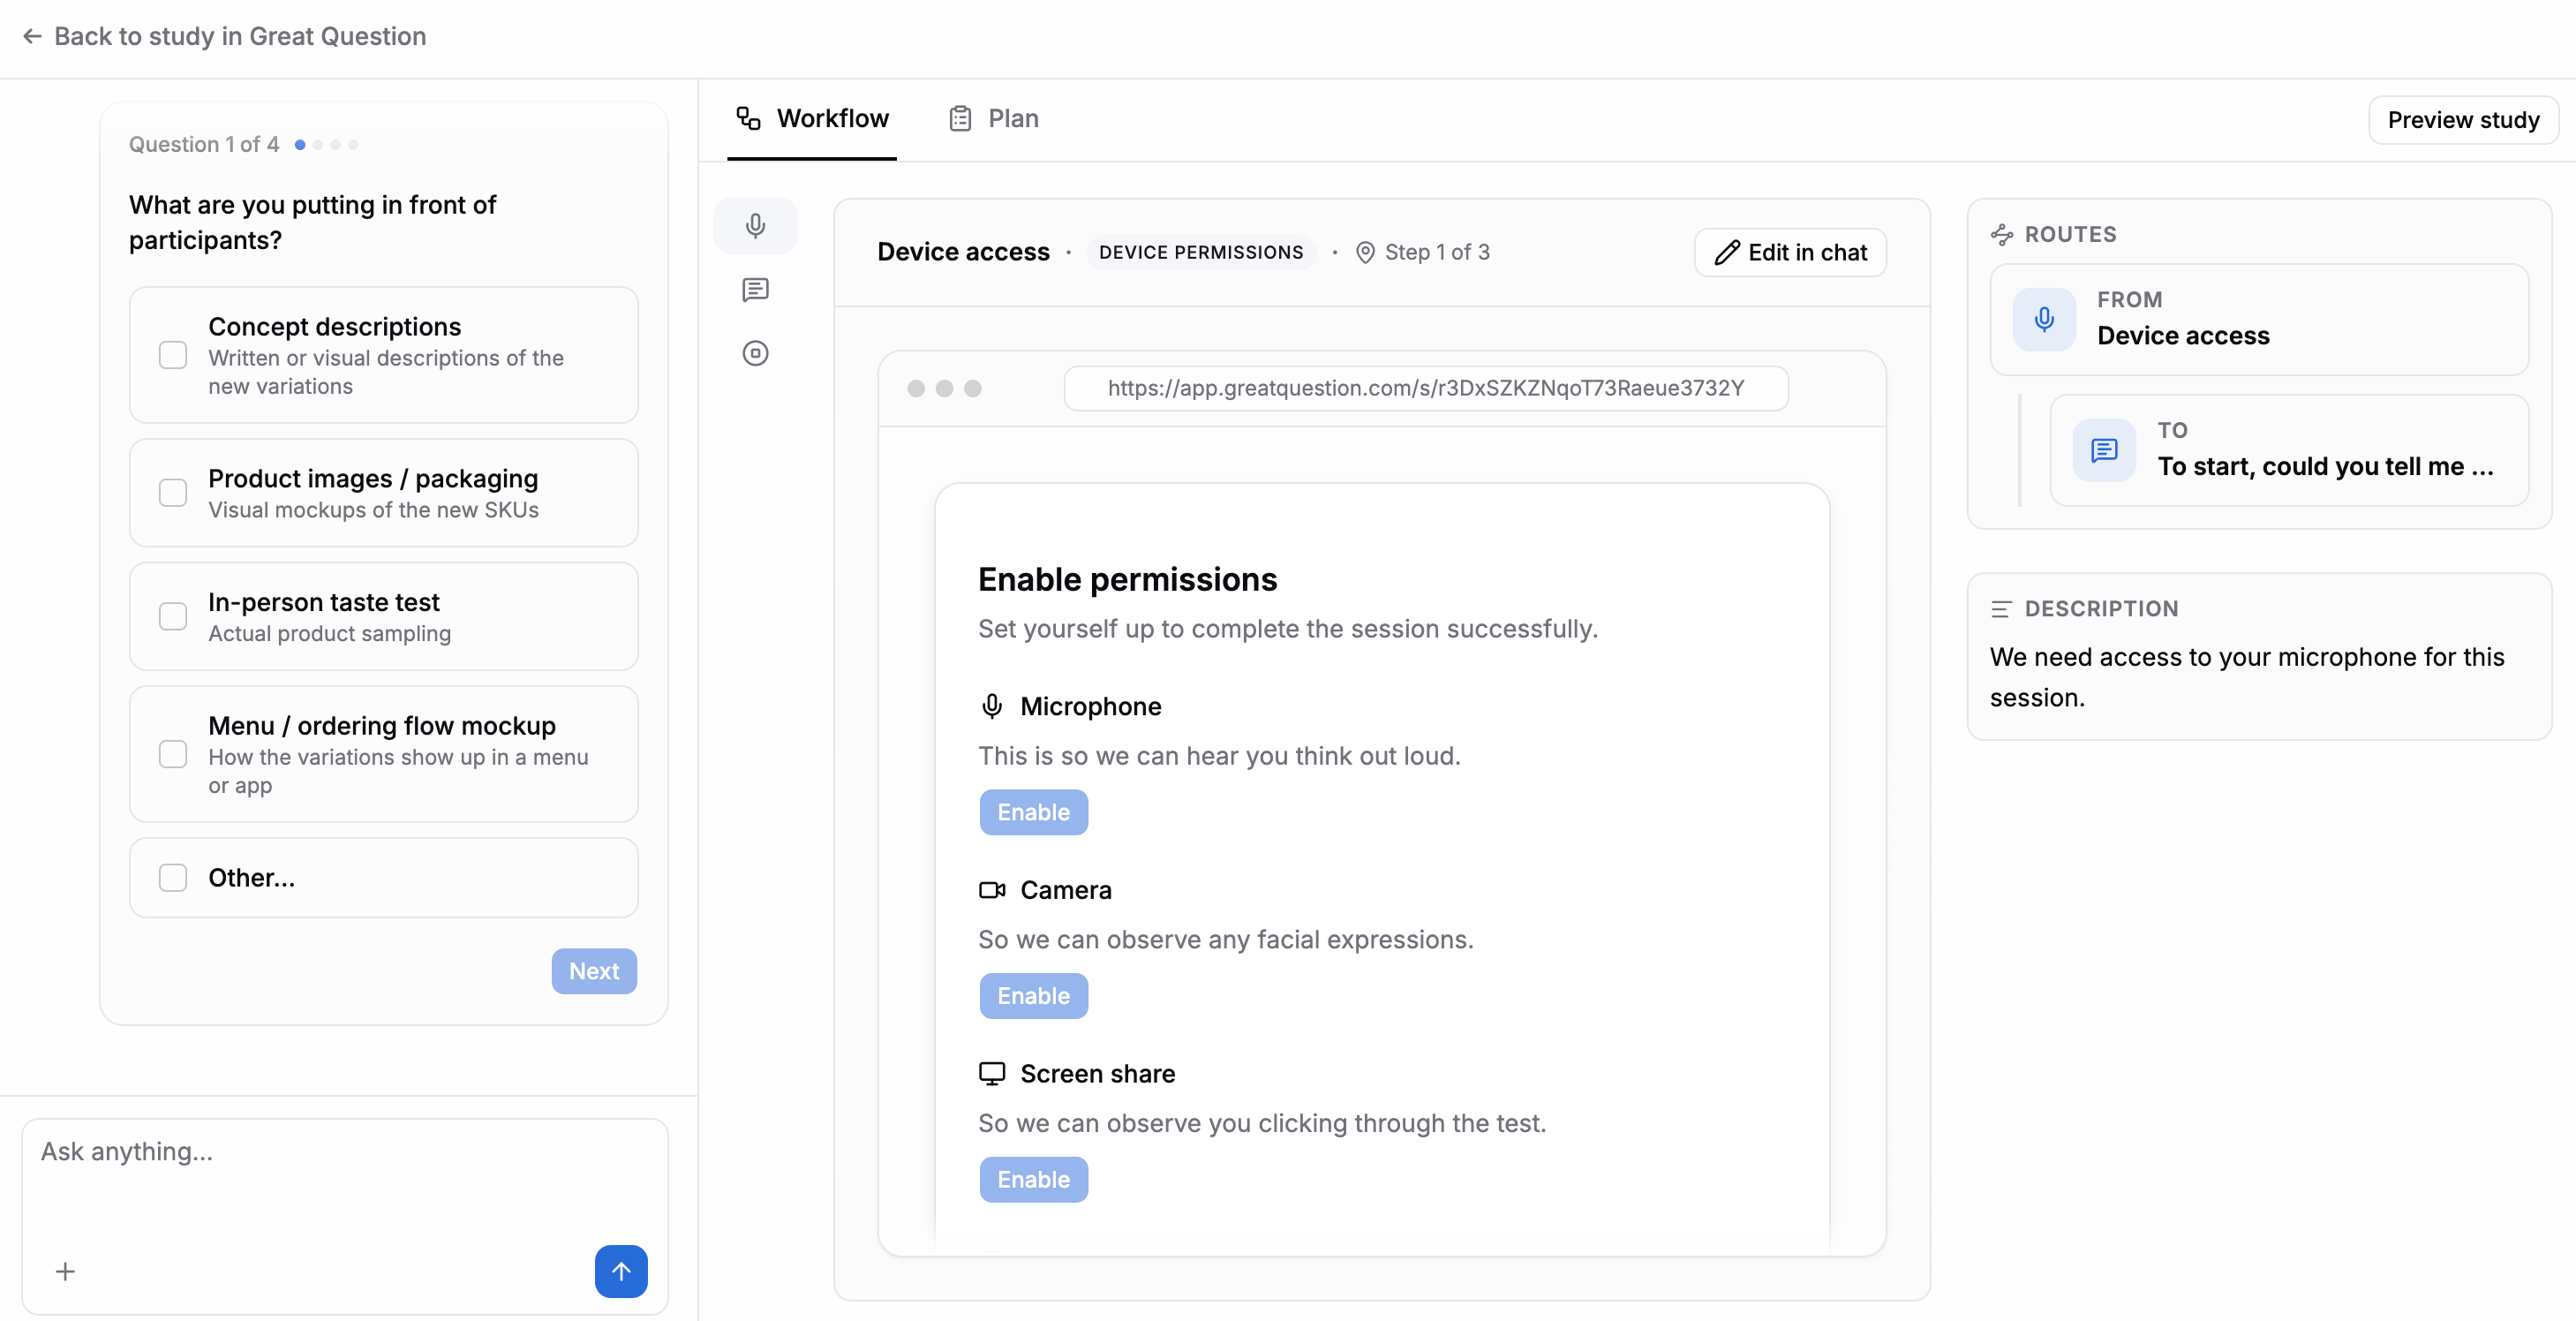
- Build your interview using the guided creation flow: describe what you want to learn with your research goal, and refine the questions the AI will ask. The flow runs as a chat beside the interview canvas, and the studio can hold more than one:
- Switch or start chats. The chat picker in the studio’s top bar lists the study’s five most recent chats and includes New chat, so you can move between conversations, or start a fresh one, without leaving the studio.
- Close the chat. Click the close button in the chat’s header, or drag its resize handle all the way left, to give the canvas the full width of the editor. Reopen the chat from the top bar and the same conversation picks up exactly where it left off, nothing restarts.
- Preview the interview to experience it exactly as a participant will, including the live AI moderation. Previews don’t record anything or save any results.
- When you’re happy, return to Great Question by clicking Back to study in the top-left corner.
Tip: You can click Open studio again anytime, including after launch, to tweak the interview. Great Question will keep showing the latest version of what you built. Deleting a step also permanently deletes any responses collected for it.
Step 3: Review What You Built, Back in Great Question
Once you’ve authored the interview, your study’s AI Moderated Interview step shows an Open studio button to jump back in and make edits, plus the outline of the interview you created. This stays in sync with the studio automatically, so what you see in Great Question always matches the live interview.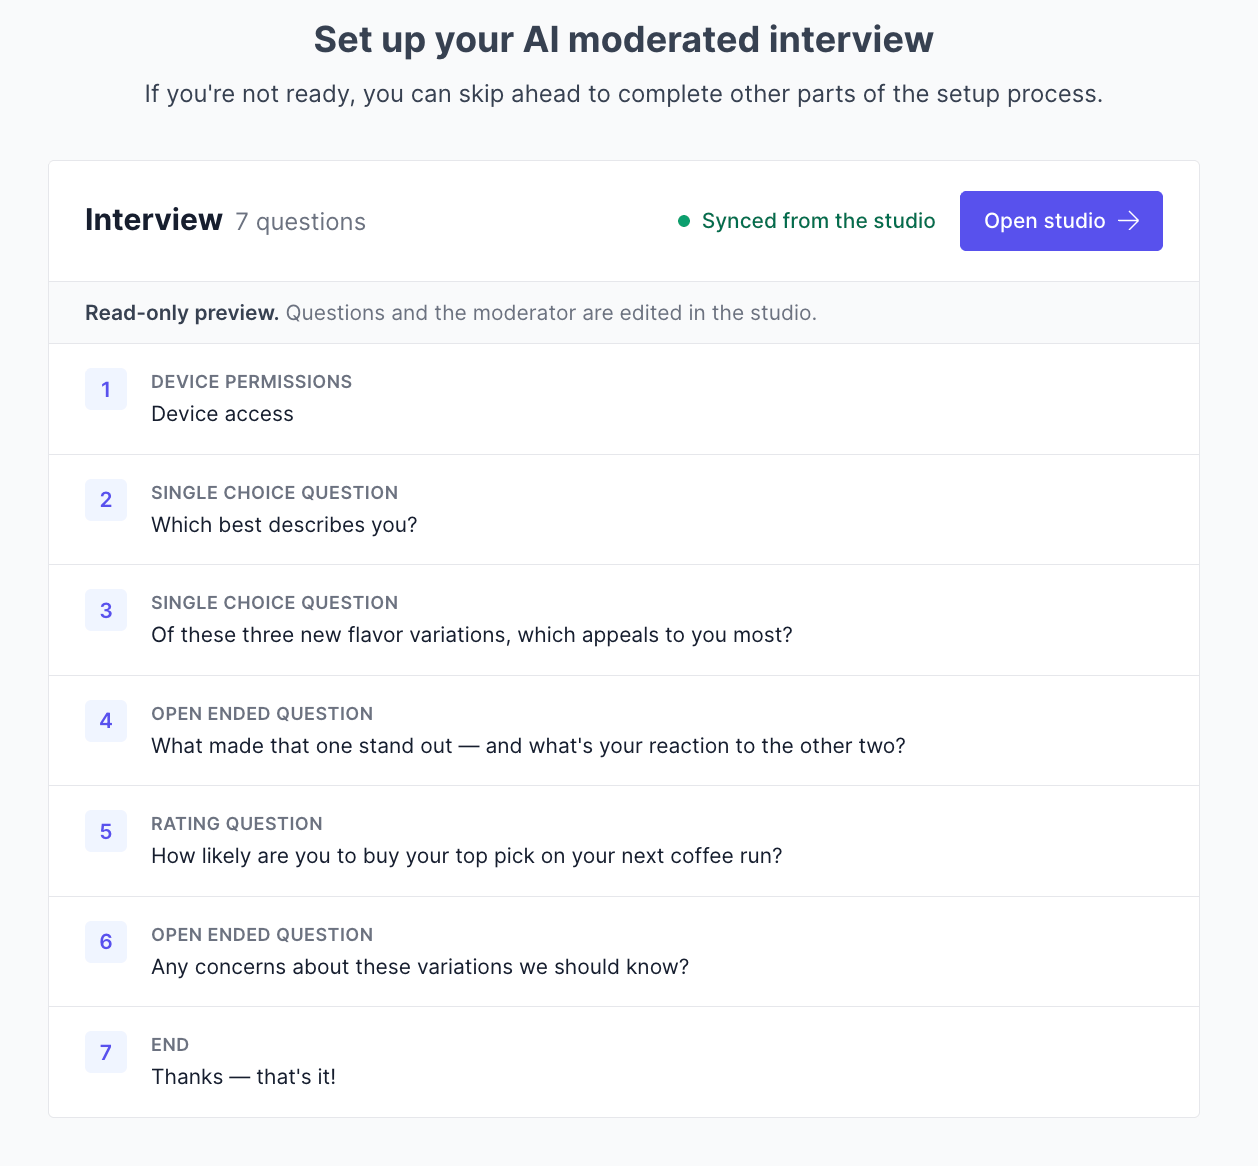
Step 4: Review and Publish
Check all sections for accuracy. When ready, click Create to publish your study.What Your Participants Experience
For your participants, it’s one continuous study, they don’t need an account and have nothing to install. Here’s the journey end to end:- They get your invite. The same invite you’d send for any study, using your recruitment, screener, and incentive settings.
- They open it in Great Question. They land on your study page, where they’re recognized from their invite link and give consent, just like a normal study.
- They take the AI interview. From there they move straight into the AI-moderated session: one welcome, the AI-led conversation, one goodbye. The transition is seamless, it feels like a single experience, not two separate steps.
- They finish, and results return to your study. When they’re done, their recording and transcript flow back into Great Question automatically.
Note: Great Question handles who your participants are, recruitment, screening, consent, and incentives. The AI interview itself is the only part run in the studio, and your participants experience the whole thing as one smooth flow.
Device setup
Before the interview starts, participants click Enable on each device the session uses. Devices your study doesn’t require are labeled Optional. Each enabled device shows a live preview, such as a microphone level or camera feed. The camera row warns participants if the camera looks covered. Participants can turn a device off from its row, but turning off a required device disables Next. For screen-sharing details in prototype tests, see Device setup and screen sharing.Manage Your Study After Publishing
Setup
- Plan — Adjust participant limits, incentives, study attributes, segments, and more.
- AI Moderated Interview — View the interview outline and jump back into the studio to edit.
- Incentives (if applicable) — Manage incentive settings.
- Screener (if applicable) — Edit questions or update logic.
- Emails — Customize participant-facing communications.
- Pages — Update the Landing Page and Screener Disqualification Page.
- Automations — Send invitation and task reminders after 24 hours.
- Notifications — Choose which email alerts to receive.
Execution
- Participants — Add candidates, track progress, and manage status.
- Recruitment Requests (if applicable) — Manage recruit requests.
- Stats — View email performance metrics.
- Screener Responses (if applicable) — Review responses to determine eligibility.
Results
- Summary — Open the AI-generated study analysis report in the studio. This tab appears once at least one participant has completed a session. See Read the Study Analysis Report.
- Tags — Organize study and global tags.
- Synthesis — Group highlights to identify themes.
- Repository — Access recordings and transcripts, the same place you’d find any other interview recording. From there, you can watch, read, tag, clip, and analyze exactly as you do today.
How the Studio Works
The studio isn’t a form to fill in, it’s a conversation. Describe what you want in the chat beside the canvas, or upload a research guide, and the chat builds or edits the interview directly. Changes land on the canvas immediately, there’s no separate save step. See Build and Edit Your Study in the Studio for everything the chat can change, how follow-up questions work, how to start from an uploaded research guide, and what the chat can’t do.The Studio’s Four Tabs
- Setup — the canvas: the outline of steps participants go through (device permissions, the interview itself, any closing questions). This is what the chat builds and edits.
- Responses — each participant’s session as it completes, one response at a time, the raw record behind the study.
- Analysis — every completed session aggregated question by question: answer distributions, report themes, highlight reels, and a full answer browser. See Review Results Question by Question below.
- Report — the full AI-generated study analysis report, once at least one session is complete. See Read the Study Analysis Report below.
Read the Study Analysis Report
After your first completed session, Great Question generates a study analysis report for you in the studio, no setup required. Where to find it:- In Great Question, a Summary tab appears under your study’s Results section once at least one participant has completed a session. Clicking it takes you straight to the report in the studio, already signed in.
- In the studio itself, the report lives on the Report tab of the study workspace, alongside Setup, Responses, and Analysis.
- The report generates automatically after your first completed session; generation usually takes about a minute.
- It keeps itself current from there: every completed session after the first automatically regenerates the report on its own, no action needed.
- Use Regenerate report if you want to force a fresh rebuild right away instead of waiting, it’s a convenience, not a requirement.
- Use Share to create a share link, or Copy as Markdown to paste the report into another tool.
The report’s analysis covers completed sessions only. Counts shown around it, such as total invitations sent and sessions in progress, can include partial or in-progress participations, so those numbers may be higher than the number of sessions analyzed.
Review Results Question by Question
While the Responses tab shows each session’s responses one participant at a time, the Analysis tab aggregates every completed session question by question. Use it when you want to compare how everyone answered a single question, rather than reading sessions end to end. What each question row shows:- The question’s identity. Its number (Q1, Q2, …), the question text, its description, and its base counts: how many participants answered, how many skipped, and, for open-ended questions, how many responses the theme analysis read.
- The aggregate for its type. Choice questions show a distribution of options, rating questions show a rating chart with the average, and open-ended questions show a summary of what people said.
- Report themes. Under open-ended questions, the themes identified by the study analysis report read as a concise summary: each theme’s name, a short synthesis, and inline quote links that open the response the quote came from.
- Highlight reel. Under a question’s themes, a highlight reel plays the video moments behind that question’s cited quotes as one continuous video, with a chapter per moment and the most-mentioned theme first. Only consented, playable recordings are included. Use the player’s chapter markers to jump between moments; the current chapter shows its quote and links to the full response it came from. If the reel hasn’t been stitched yet, the tab prepares it automatically and shows Preparing your highlight reel until it’s ready.
The Analysis tab aggregates completed sessions only, matching the report’s analysis. Themes, highlight reels, and the answer browser’s theme filter come from the study analysis report, so those appear once the report has been generated.
Best Practices
Give your research goal real context before opening the studio. The more specific your goal, the better the guided creation flow’s first draft of questions will be. Always preview before publishing. Previews run the live AI moderation exactly as a participant will experience it, and don’t count toward your results, there’s no reason not to run through it more than once. Treat the studio as the source of truth for the interview itself. Editing happens there, not in Great Question directly; Great Question always mirrors the latest synced version.Troubleshooting
Frequently Asked Questions
Do participants know they’re talking to an AI?Yes, it’s mentioned where they reach the landing page. Where do my participants give consent — and where does the interview happen?
Both are part of one smooth flow for the participant. They open your invite in Great Question and give consent there (with your usual recruitment, screener, and incentive settings), then move straight into the AI interview without any extra sign-in. Great Question handles participant identity, consent, recruitment, and incentives; the AI interview itself runs in the studio. Their recording and transcript come back into your Great Question study automatically. Can I see the interview before I launch? Yes, use Preview in the studio. Previews don’t record or save results, so you can test as many times as you like. Will my recordings and transcripts work like my other studies? Yes. They land on each participant’s record in your study, with a speaker-labeled transcript, ready for your usual analysis, tagging, and clipping. What happens if a participant drops off partway through? Only completed sessions are kept. If a participant abandons and retakes the study, they start a fresh session. Can I edit the interview after authoring it? Yes, click Open studio from the study’s AI Moderated Interview step anytime. Where can I see every answer to one question at once?
On the Analysis tab in the studio, which aggregates completed sessions question by question, with themes and a highlight reel under open-ended questions and a View answers browser for the full collection. See Review Results Question by Question. What can I ask the studio chat to do?
Anything involved in building or refining the interview: adding, removing, or reordering questions, setting follow-up limits, giving the moderator instructions (including on tone), or updating the research plan. It shows its reasoning before applying a change and confirms exactly what it did. See Build and Edit Your Study in the Studio for the full list. Where do I see the AI-generated analysis of my sessions?
In the study analysis report. Open it from the Summary tab under your study’s Results section (it appears after the first completed session), or from the Report tab in the studio. See Read the Study Analysis Report.
Still need help? Contact us at support@greatquestion.co — median response time is 19 minutes during support hours.